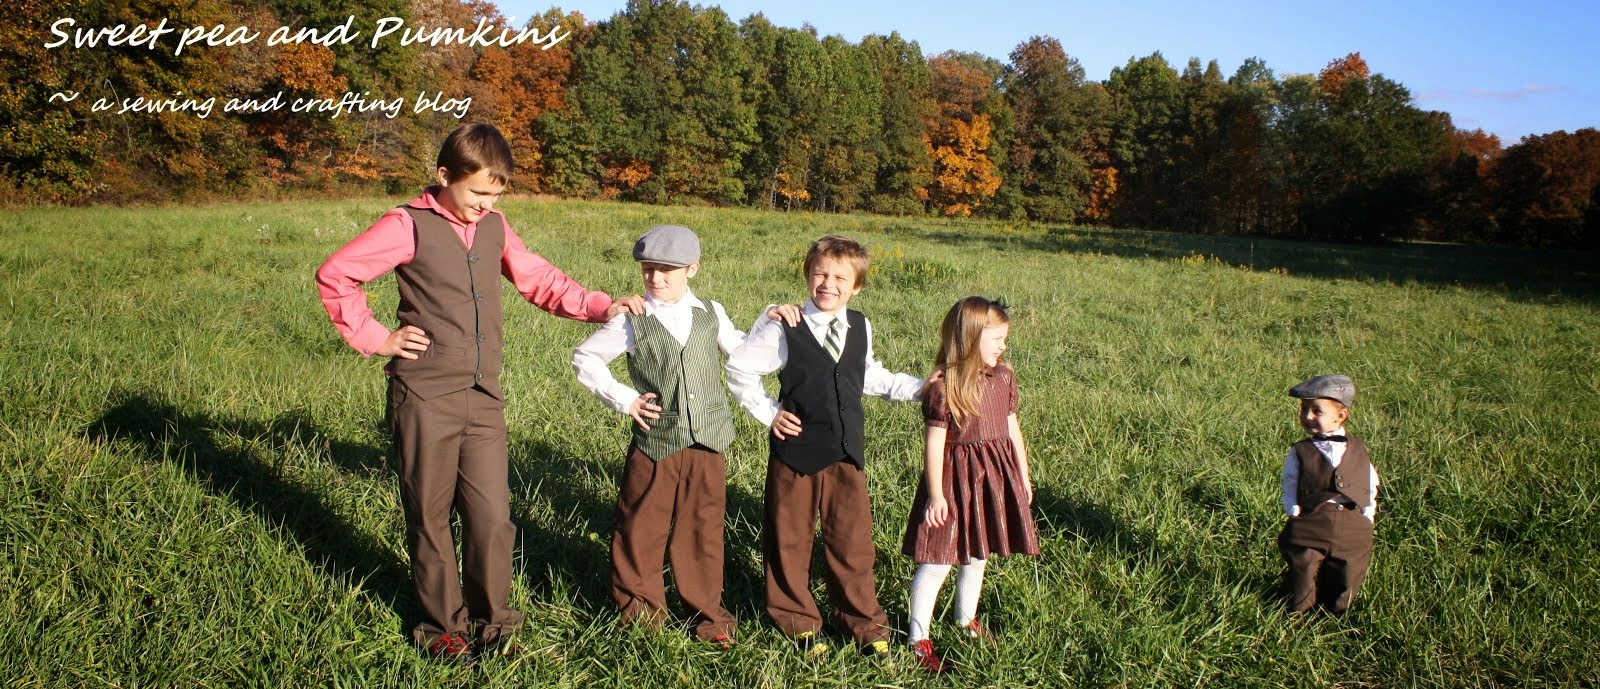
This is one of my favorite dresses I have made Sweet Pea. It comes together rather easy and looks dressy (is that a word?) enough for church on Sunday morning. A turtle neck can be put under the dress to help keep her warm or a pretty button up sweater on top for the cold weather. Are you ready to make a beautiful dress for the little girl in your life? Lets get started!
Supplies you'll need:
* 2 yards of main fabric, I had left over fabric with a size 12m
*1/2 yard of fabric for sash
*thread
*5 1/2" buttons
***sew in 3/8" seam allowace unless noted***
Step1; First you need to make your pattern for the top of te dress. I trace a shirt that fits Sweet pea well, measuring from the center. On the back bodice you'll need to add to the center back for over lap for the buttons. On my back I addded 1". Be sure to add 3/8" seam allowance when tracing out your pattern!
The other way in to trace a bodice top pattern you already have on hand. (I seen this idea the other day on another blog sight but can't remember where).
Next on the back bodice draw a straight line from the edge of the shoulder down to about 2 1/2" from the bottom and cut off. (shown in picture above)
Step 2; Now we will make are pleats for the front bodice before it is to be cut out. Cut a retangle peice of fabric out that is 5" to 6" longer on both sides of the whole bodice (remeber that it is to be placed on fold of fabric) and in longer than what in needed for the bodice too. See picture above.
Mark the cener of the fabric. The center pleat will be 1" wide. We will be making half of that pleat as we are working on the right side first. Every pleat under the center pleat will be a 1/2". To make a 1/2" pleat will take 1" of fabric. Measure 1" from where the egde of the center pleat will be, mark it. Fold the fabric marked 1" in half to form first pleat. press with hot iron. See picture below.
To make the second pleat measure 1" from the edge of the first pleat. fold in half and press. See picture above. Repeat again for third pleat.
Lift up the center pleat and stitch down the second and third pleats. Stitch in aways so that the stich line will not be visable from the top when the center pleat in laid down.
Press pleats again to make sure they were nice and sharp. Pin down the center pleat pleat and top stitch close to the edge, 1/16" from the edge of center pleat.

..
Repeat with the left of the fabric, working the center pleat a 1/2" away from the center pleat.
Mark the middle of the top pleat and fold in half, lay the bodice pattern on to with center of the pattern on the fold and cut out. It will look like this when the front of the bodice done.
Cut out the lining peice of the front bodice and the 4 pieces of the back bodice.
To get the measurements for the skirt pieces you'll need to get the length first. Measure from the waist to where you want the dress to come down at on the person the dress is for. Sweet pea's was 15". Now add in the seam allowance for the top (3/8") and for the bottom hem (1 3/4") to get 17 and 1/8" for the leangth.
The skirt is in three pieces, measure the front bodice and double the measurement to get the width for the front skirt piece.
Measure the back bodice and double that to get the back measurement, we also have to add in the back hem (where the button holes and buttons will go). Take the back skirt measurement and add 2" to it. Cut out 2 back skirt pieces.
For the sash, you need three pieces. I used black fabric for mine. To cut the center sash make the lenght of it the same as the leangth as the front bodice. The sash is to be cut out at 4 1/2" wide. For the ties of the sash take the skirt lenght measurement (mine is 17") and add 8" to that (so mine was 26") for the lenght of the back sash (so mine was 26"x 4 1/2"), cut two.
Step 3; Pin the front bodice side to the back bodice sides and stitch in place. Press seams open. repeat with lining of the bodice. For the line of the bodice only press bottom edge up 3/8" up.
Pin main bodice to the lining bodice. Look very close at where I sewed the bodice together. Sew the back bodice and around the neck. Sew around the arm holes but stop before you get to the top, about 1 1/2" to 2". This will creat a opening to sew the shoulders together. Clip in curved areas, neck and arm areas.
Turn and press. The shoulders will be open at his point still.
Step 4; To sew shoulder seam together open up the left side, pining together the front and back shoulders.(see picture above) You can see thenow where the opening is to let you sew the shoulder seams together.
Stitch in place.
Turn the shoulder seam to rught side out and press in place.
To close the opening up that we left to sew up the shoulder seams we are going to sticth around the entire arm hole. Stitch the arm hole as close to the edge as you can, mine is 1/16", this will give a nice edge and close the opening up at the same time.
Repeat same step with right shoulder seam.
Step 5; Skirt assembly. Pin the back skirt pieces to the front skirt piece and stitch. Surge or zig zag the seams to prevent fraying of the fabric.
Making the bottom hem, press the bottom under a 1/4" and then 1 1/2" under. Pin and stitch in place.
Next we need to make the back hem. Take the back edge of the skirt and press under 1/4" and then 1 1/2", stich in place. repeat with the other back of the skirt. This is where the button holes and buttons will go.
Step 6; Run a gathering stitch across the top of the skirt. Make the gathering stiches in three parts so if the thred brakes you don't lose the whole gather. (to make a gathering stitch I set my machine to a loser tention and the longest stitch it will make, this makes it very easy to gather the fabric up)
Working with the main bodice and right sides together. (the lining bodice is pressed up 3/8") Pin the center skirt matching up the side seam of the bodice with the side seam of the skirt. Pin the back skirt with the hemed edge of the skirt right next to the back edge of the bodice. Sorry no picture. Stitch around. Step 7; turn to right side, pressing the front bodice up. This is a bit tricky so take your time on this step. Take the pressed lined bodice and pin from the outside the main bodice to the lining of the bodice. The raw edges of the skirt top will be tucked inside of two bodice pieces. Top, is what the inside bodice will look like pined. Bottom, what the out side will look like pined.
Make sure that the side seams are lined up from the main bodice and the lining bodice.
Stay stitch in place from outside 1/16" away from bodice edge.
Step 8; Making button holes. We need to mark the places where the button holes will go. Working on the left side of the back bodice. One button will go on the bottom part of the back bodice. Mark place with pencle of fabric pin. For a 12m size I used 4 buttons on the skirt side hem. Mark the top button first. I placed mine right below the waist line. mark. For the next button hole, measure down 3 1/2" from the button above, mark. repeat down the skirt.
My sewing machine does button holes, so I place the fabric where I marked for the button holes right under the button foot so that the holes will be placed even in the same spot all the way down. Cut open the button holes with a seam ripper. Now mark the places where your buttons will go by laying the side hems over onto each other and marking where the button holes are at onto the other side hem,then sew your buttons on.
Step 9; Sewing the sash. *sew in 1/4 seam allowance* Pin the tie pieces of the sash to the center piece of the sash on both sides. Sew together.
Press in the sash fabric in half length to make a long rectangle tube. On both ends of the sash mark a angle cut to make a "ribbon" end on the sash ties. Pin in place. Stitch together with leaving a 3" opening on the middle section of the sash for turning. Turn and press. Hand stitch the opening closed.
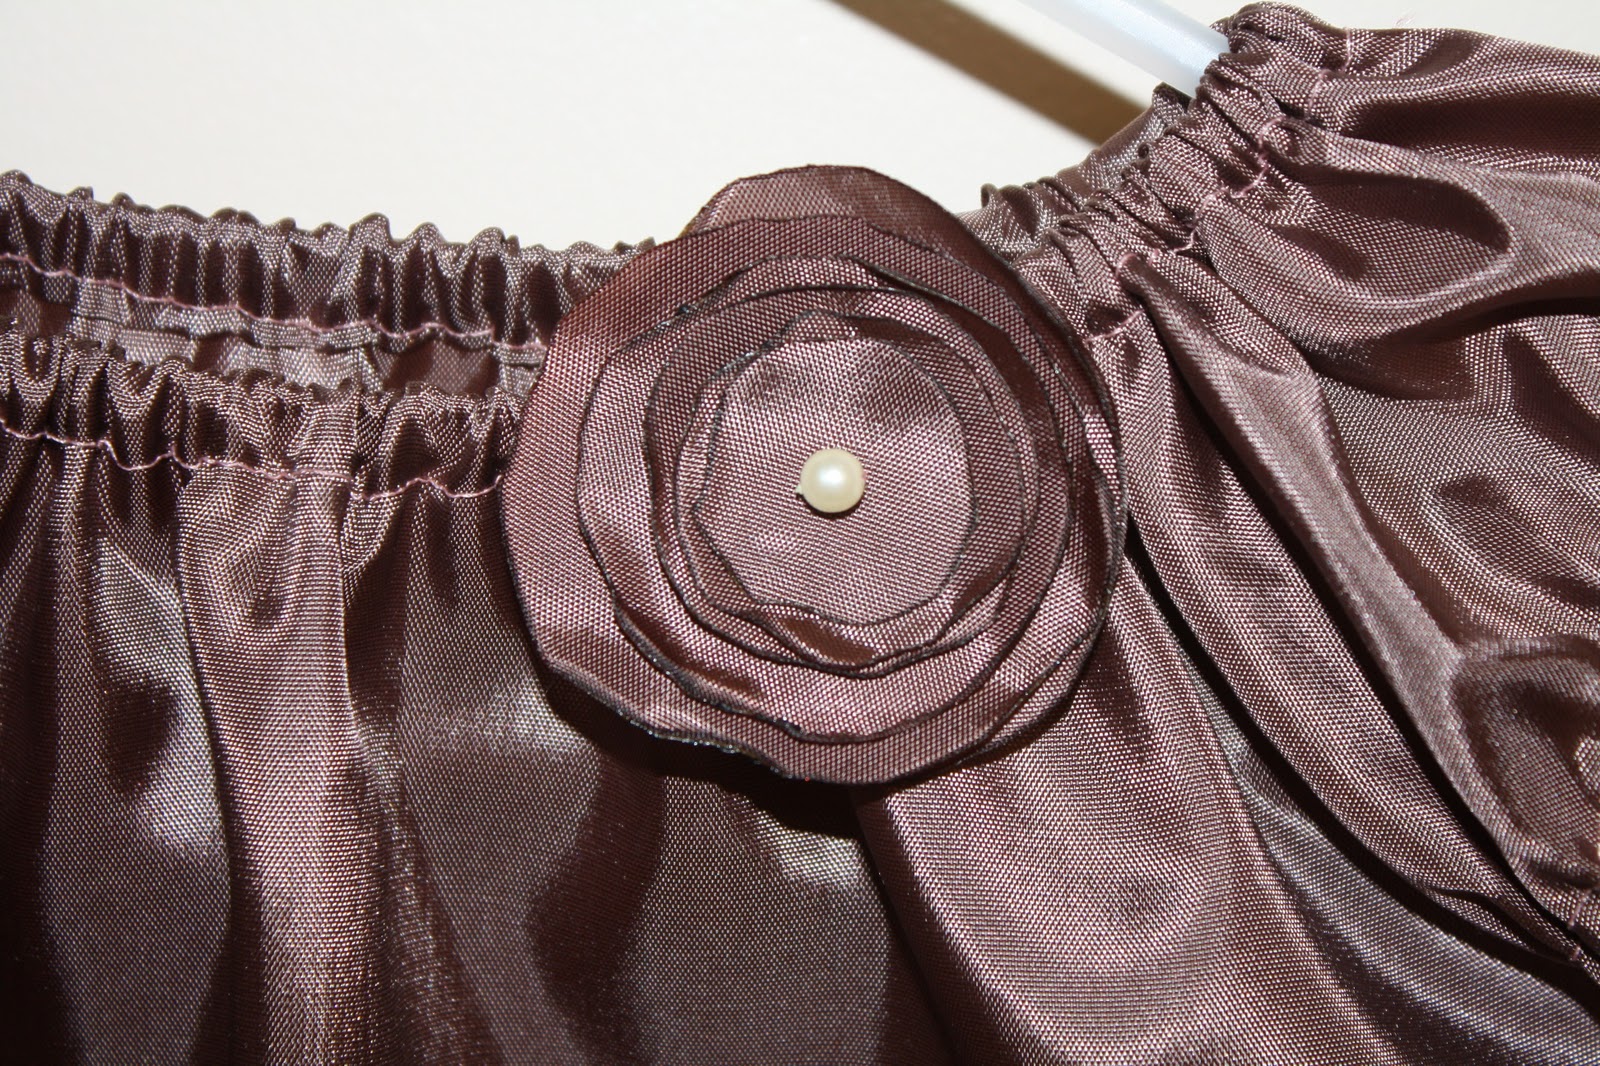
Step 10; Take the center part of the sash where the seam is at and make a pleat in it on both sides, pinning it to the side seam of the bodice on both sides. Stitch in place. And your done!!
Try the dress on your little girl and watch to see how happy she is with her new dress!!
Let me know if you have any questions or if I left any thing out.
Happy sewing!!
Sharon


